The release of the next batch of Genesis/SNES YPbPr cables and the Saturn/Neo Geo adapters is imminent. But before we get to that, we have some very important information we need to disseminate.
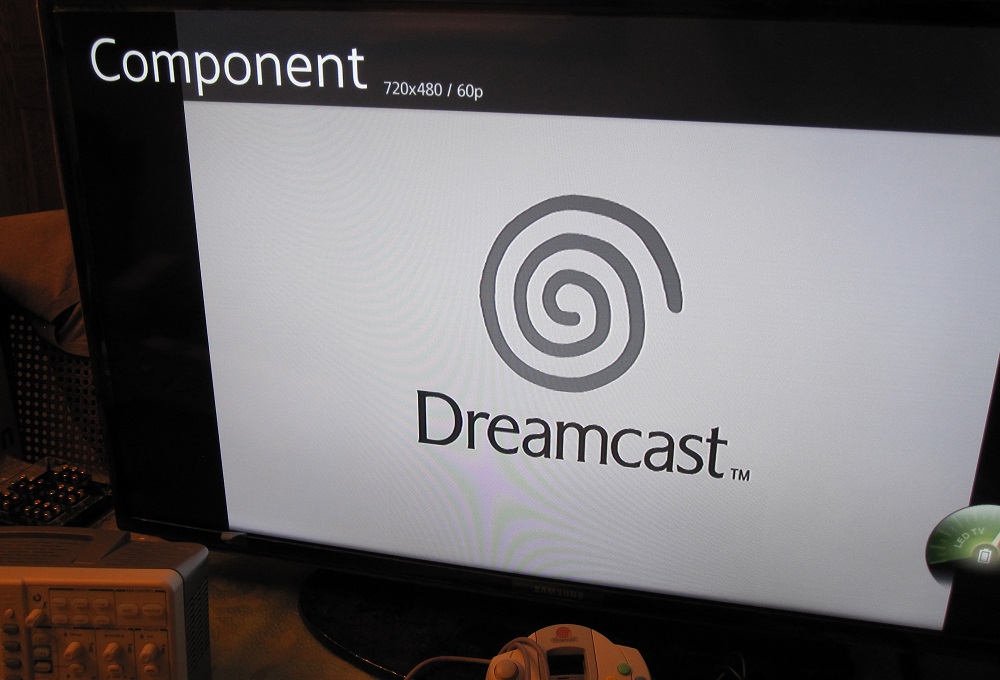
1) If you haven't already, it's time to run the 240p test on your TV (or TVs) with each console you plan to use with our YPbPr cables. Just because your Sega Genesis works on your TV doesn't mean your Sega Saturn, SNES, or Neo Geo CD will. Just because your console works on your Samsung doesn't mean it'll work on your Sony.
2) We've revised our Return Policy page to be more clear and consistent. Other than the 240p test, this is probably the most important thing to carefully look at, so please make sure you understand everything including the shipping policy at the bottom. As with the previous batch, we will not be accepting returns because of incompatibilities with your display device, since that should be checked for ahead of time (see #1).
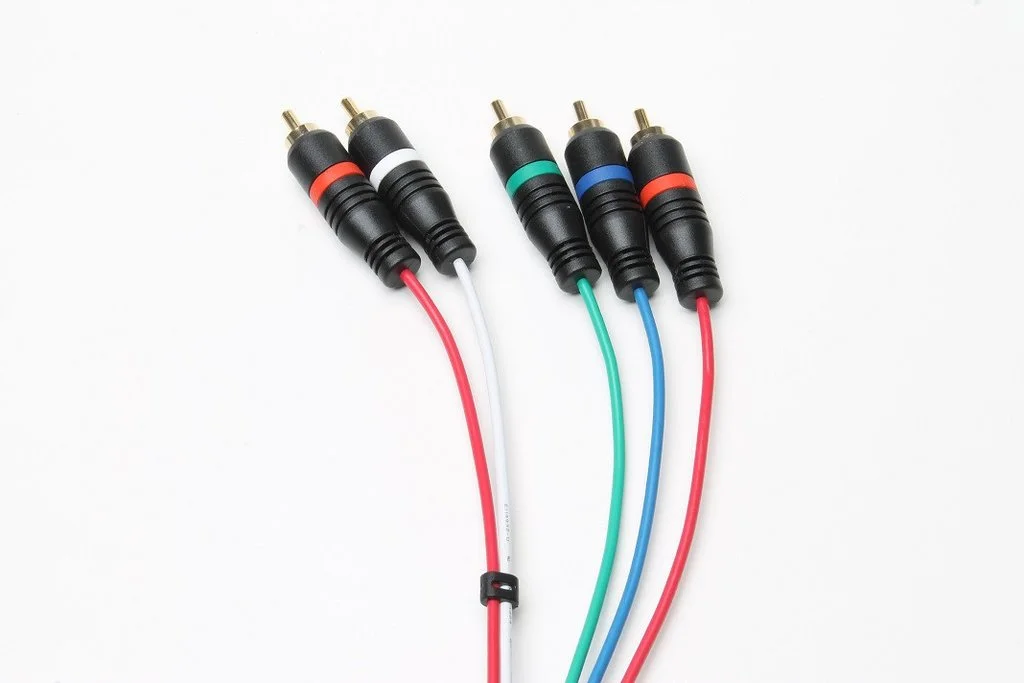
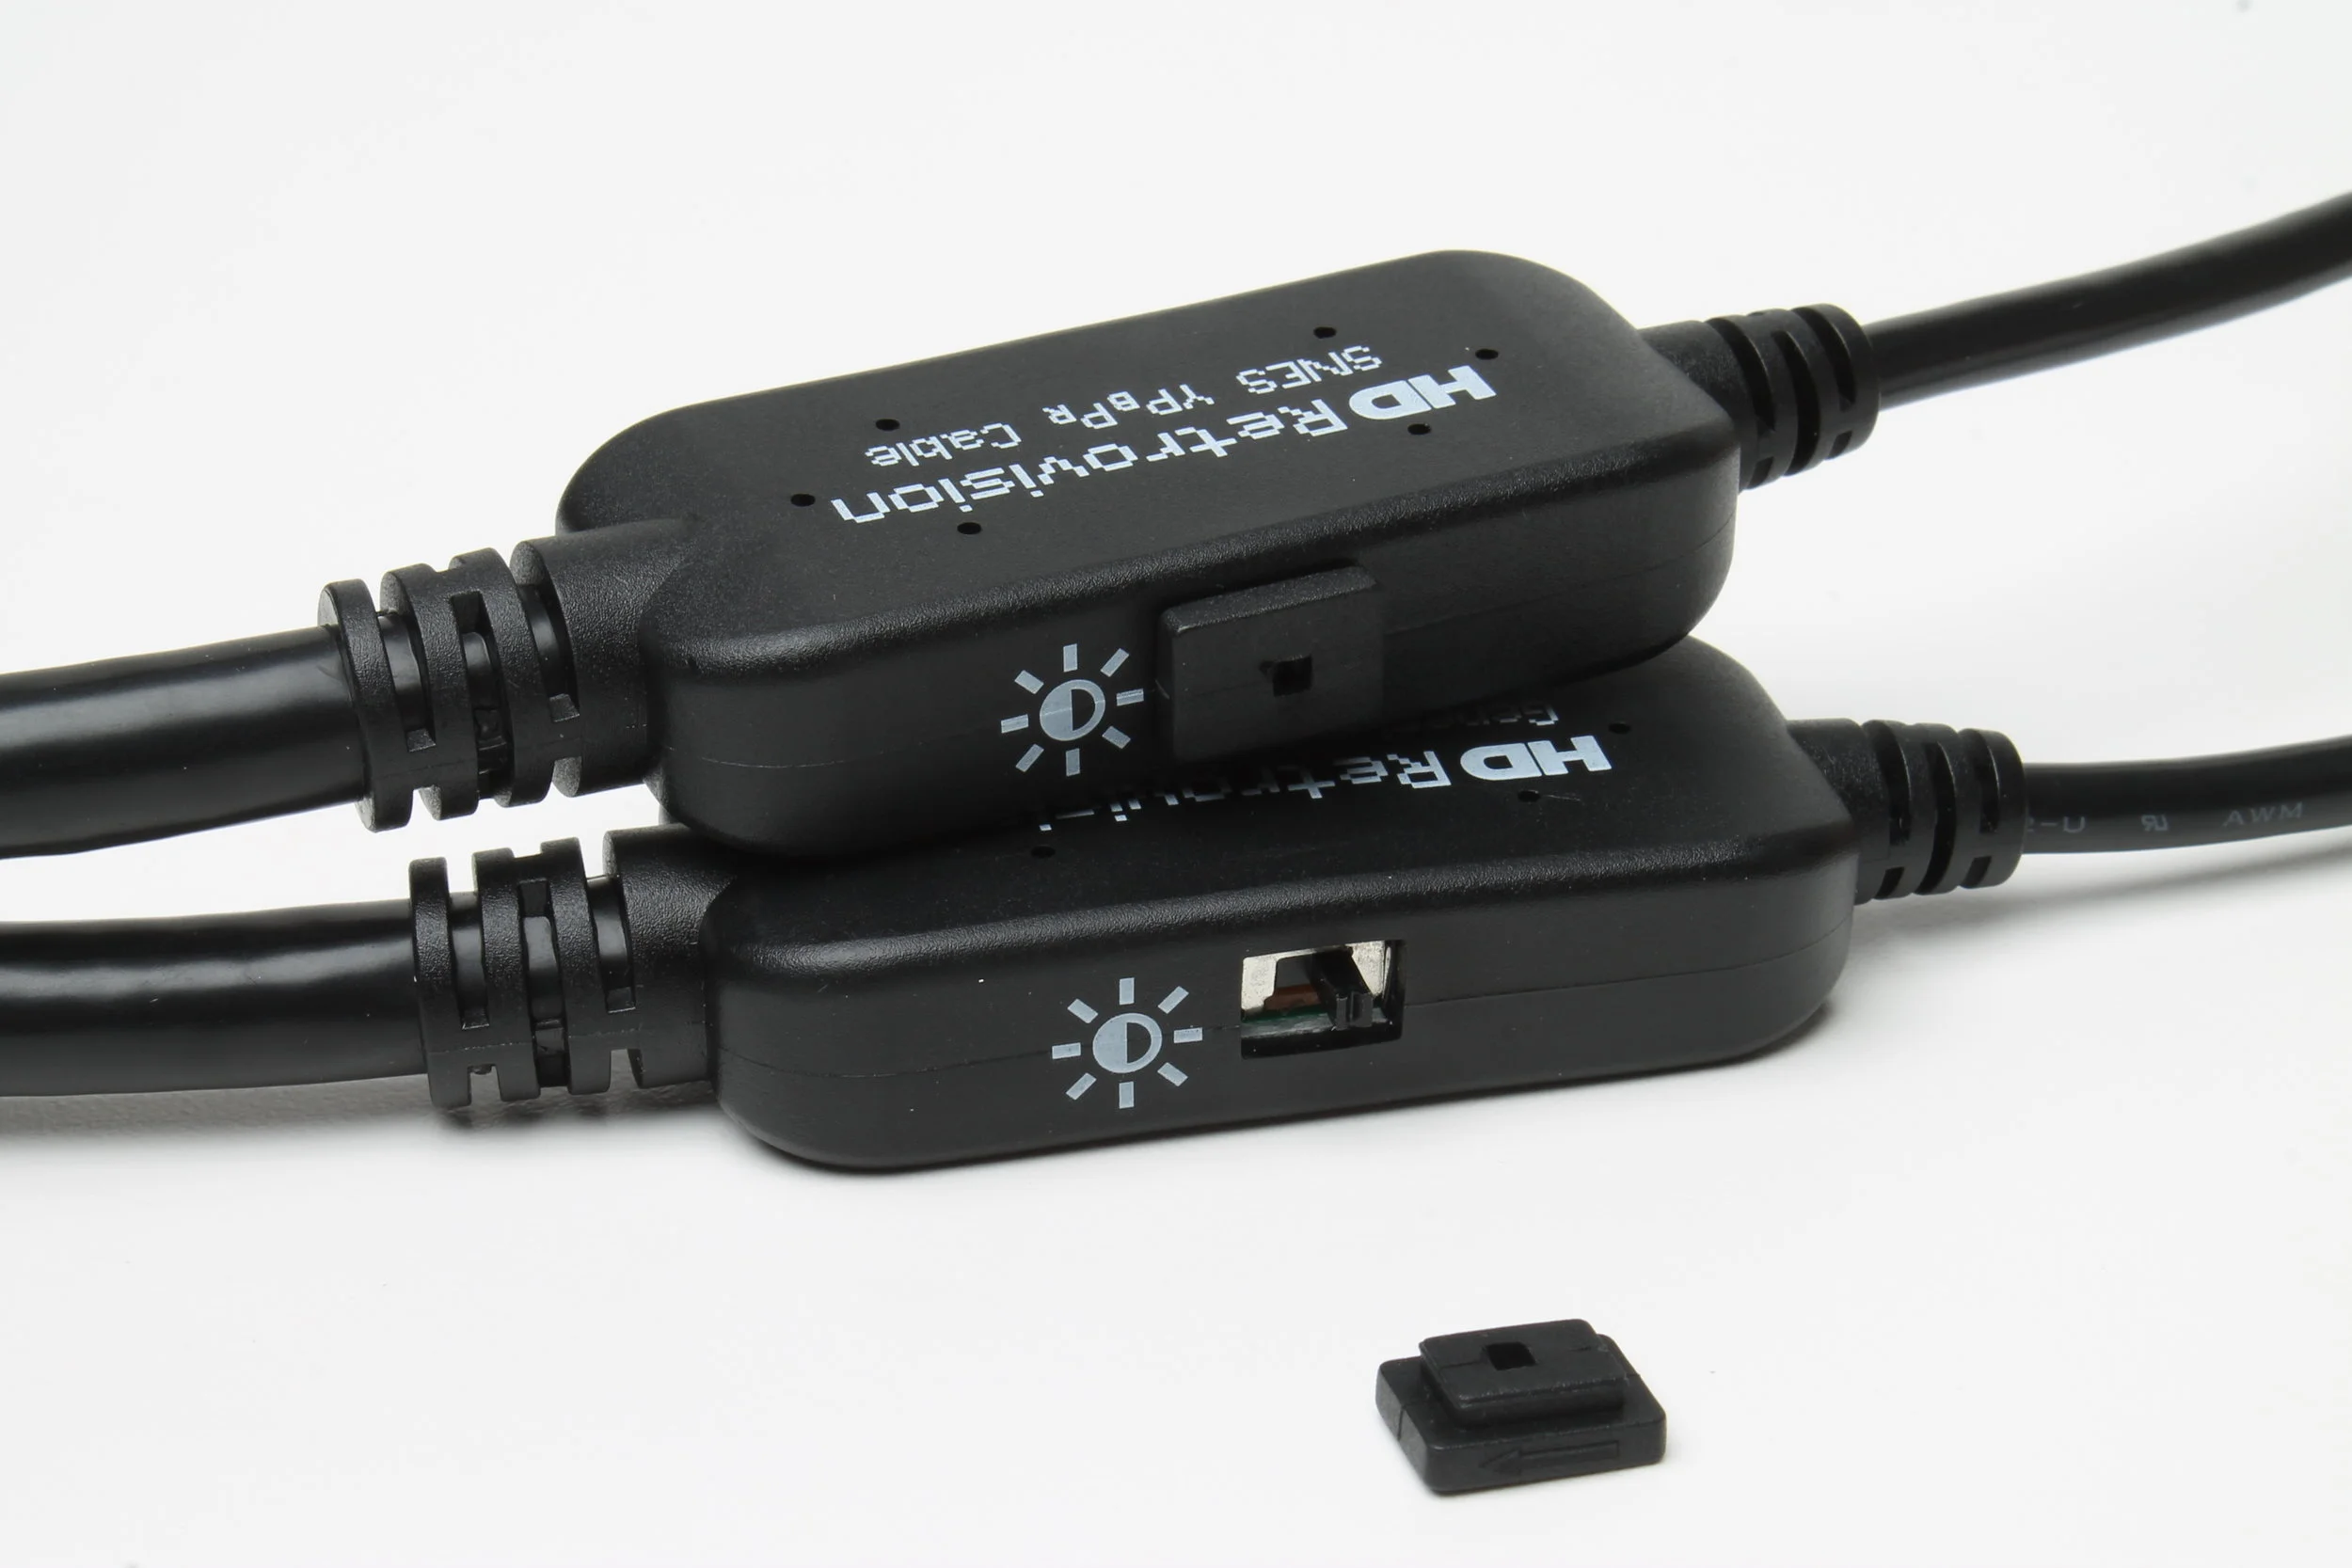
3) We've updated the Genesis and SNES product pages with information and changelogs about what's new in this second production run (revision AH0) of cables. You may also note that we've added a second approved modding service, through Voultar's Mod Shop, for the NS1 serial numbers of the N64. If you look even closer you'll notice that we now officially support a SNES "mini" modding service, also through Voultar's Mod Shop.
4) We now have Saturn and Neo Geo product pages with compatibility lists and comparison pictures. Our capture equipment went on the fritz recently, so we'll be adding additional and more-accurate pics in the coming weeks. We also updated our Sync Jitter page with the detailed information we uncovered during our research last winter. Finally, you can get updated versions of our SNES & Genesis test software on the Free Stuff page.
5) We've completely redone our recommendations for power supplies, found on our 3rd Party Products page. We have found non-UL listed supplies to be too inconsistent and apt to change on a whim, so we now recommend a low-cost, low-noise, UL-listed supply that needs to be paired with plug adapters depending on the console you intend to use. Please let us know if you have any questions about this.
OK, now that you are properly prepared after reviewing all that information, we can get onto the more specific details regarding the new product stock. We will be updating stock for our HD Retrovision Shop on Saturday June 24, 2017 at 6:59pm CDT / 11:59pm UTC. This update will include stock for the SNES YPbPr cables, Genesis YPbPr cables, Saturn adapters, and Neo Geo adapters. In addition to this initial release, we will be replenishing stock for both the SNES and Genesis YPbPr cables in subsequent waves, since we do not want to overburden our distributor with more than they can push out within one week. These additional waves of updated stock will occur on the two consecutive Saturdays following the initial wave. To summarize, the restock wave structure is as follows:
Wave 1: June 24, 2017 at 6:59pm CDT / 11:59pm UTC
Wave 2: July 1, 2017 at 6:59pm CDT / 11:59pm UTC
Wave 3: July 8, 2017 at 6:59pm CDT / 11:59pm UTC
For the first wave, we will be enforcing a maximum quantity limit of two per each item listed on the shop, and then consider loosening up the policy for the subsequent waves as we deem necessary. As we have previously discussed, our costs have gone up for reasons such as the improved circuitry, packaging/labeling, and freight/duties, so we had to restructure the pricing of items in our store. YPbPr cables will be priced at $53 each, the Genesis Model2-to-Model1 adapter at $8, and the Saturn & Neo Geo adapters at $14. We will also no longer be offering any package deals consisting of bundling together a YPbPr cable and an adapter.
This is extremely important, so please pay attention. As a customer of the HD Retrovision Shop, you are responsible for taking the proper measures to ensure your order (shipping/billing info, item quantities, etc.) is correct before submitting. We will try our best to help with corrections, but we have limited resources so it is not something that can be guaranteed. We are not permitted to modify items/quantities once an order is placed. Ultimately, any errors made during the checkout process are your own responsibility. Therefore, please browse the store ahead of time and plan out your purchases in advance to avoid any such issues.
Thank you for reading and sticking with us through all this time. We wish you all the best.